


As digital marketers, it’s very easy to get stuck in the “upper-funnel mindset” and drive tons of leads that we leave it up to the salespeople to close. While down-funnel events might not be fully in our control, there is a lot we can do to nurture our leads downstream after capture. One of our favorite channels for nurturing is LinkedIn Sponsored InMail, which is a great way to engage with leads and encourage them to take the next step in the funnel.
LinkedIn InMail allows you to send messages directly to another LinkedIn member you aren’t connected to. Let’s say you are an online university trying to recruit new students. You can use LinkedIn InMail to encourage prospective students to start their application, app starters to finish their application, and admitted students to enroll. You can also use Sponsored InMail for acquisition efforts; it has the same audience functionality as a Sponsored Content campaign.
Sponsored InMail will only be delivered when the recipient is active on LinkedIn. Each LinkedIn member can only receive one Sponsored InMail every 45 days, so you won’t compete with other advertisers for a share of voice (unlike a typical email inbox).
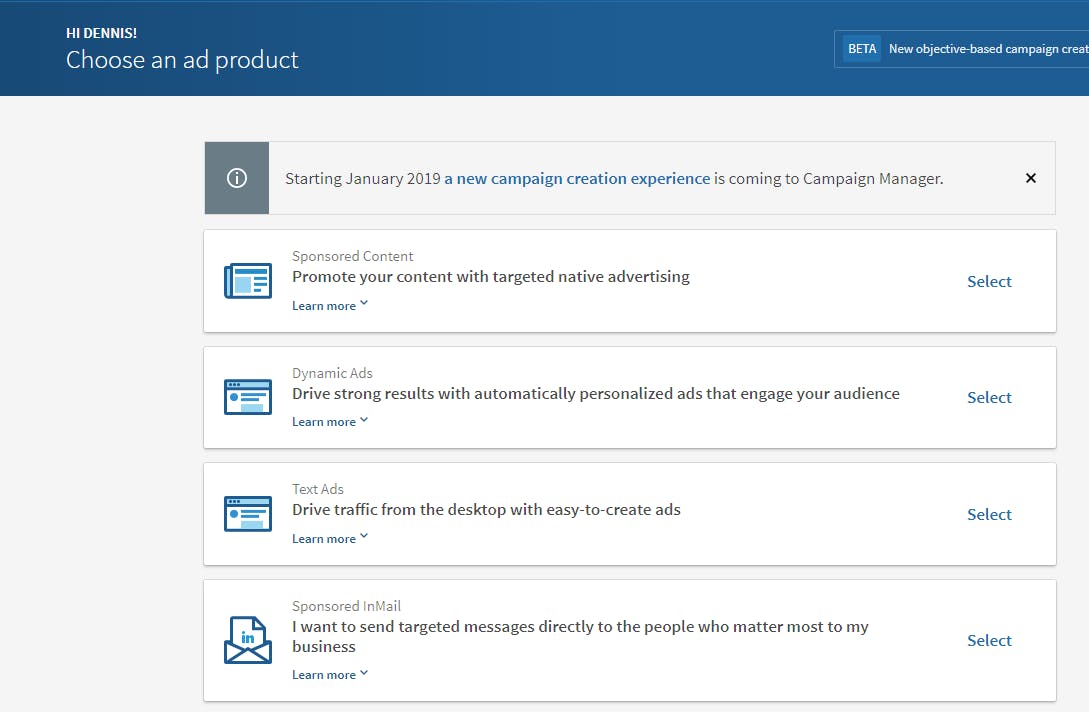
Now that you’re convinced it’s time to test out this feature, here’s how to set up your first campaign:
- Click create new campaign and select Sponsored InMail.
- Name your campaign, select a target language, and choose whether you want to send people to your website or collect leads using LinkedIn Lead Gen Forms.
- Name your sponsored InMail ad and choose a sender. For your first Sponsored InMail campaign, you’ll need to add a sender. You can select yourself as a sender or someone else. The only caveat is that you must be a first-degree connection with the sender.
- Once you choose the sender, you’ll be prompted to send an approval request. The sender will receive a notification asking them to approve your request. It’s best practice always to use a person rather than a company as the sender. (Don’t worry, Sponsored InMail recipients cannot respond to the sender.) Ensure your sender has a LinkedIn profile picture before sending the Sponsored InMail to ensure your message is personable.
- Now it’s time to create your ad. Write up to a 60-character subject line and a 1,500-character body message. Consider using some impactful keywords: thanks, exclusive invitation, connect, opportunities, and join us/ me. Add a custom greeting using “%FIRSTNAME%, %LASTNAME%” – this will dynamically populate your recipient’s name. It’s also best practice to use a hyperlink in the message body to increase the click-through rate.
- Add your landing page or lead form and a call-to-action button. You can also upload a banner creative. The banner must be 300×250; a logo is usually a good choice.
- You can preview your InMail by clicking the envelope and sending yourself a test version of the message.
- Define your audience. If using a customer list, you must have at least 300 people on your list.
- Select which conversions to track, your daily budget, and your cost per send bid. Launch your campaign, and let your InMail drop!
You’ll also want to ensure that you have a means of tracking the success of your campaigns. Make sure you and your client align on the metrics you’re tracking from the InMail campaigns so you can gauge progress and learn where to optimize.
Learn more about our programmatic offering
Explore
More Insights?
View All Insights


Questions?