

In order to track the success of any campaign, pixels must be added to the website, especially the conversion pages. Since this implementation is so important, it is necessary to conduct a pixel audit to make sure the tags are firing properly before any placements go live.
A pixel audit used to be up to the developers, but with so many other dev-related projects pushing the priority of this task, it’s time to take the reins and learn how to quickly QA your tracking ads in just a few simple steps:
- Gather the pixels you are expecting to see on the page and match them up to the expected urls. This process should be pretty straightforward with general pages but could get a little tricky with conversion pages, so it’s always best to ask for a conversion test code as part of the implementation process if your conversion pixel is behind a paywall.
- Navigate to the page. If this is a basic page, you can just go to the url. If you are testing a conversion page, be sure to first click on one of your ads so that you are cookied. This will ensure that the conversion is associated to your campaign and you can see the test conversion in your reporting.
- Inspect the pixel load with one of the following:
- Ghostery: From my experience, this is the easiest method to read the data easily and quickly. First, click on the icon after the all of the pixels load to expand a list where you can search for the vendor name, and then drill down into the tracking tags:
Find your pixel ID and any other unique values and match them up to the tracking pixels on your list.
- Dev Tools: Each browser has a feature for developers where you can inspect the pages:
- On Chrome: Right-click anywhere on the page and select “Inspect” OR Open the menu -> More Tools -> Developer Tools – Network Tab
- On Firefox: Right-click anywhere on the page and select “Inspect Element” OR open the menu -> Developer -> Network
If all of the expected pixels are firing on your pages, you’re good to go! If not, I suggest that you share the pixels document with your client along with an explanation about how you QA’d the page and with any associated screenshots. Boom. With a few new skills under your belt, you can troubleshoot and move things along with no developer needed.
Learn more about our paid search offering
Explore
More Insights?
View All Insights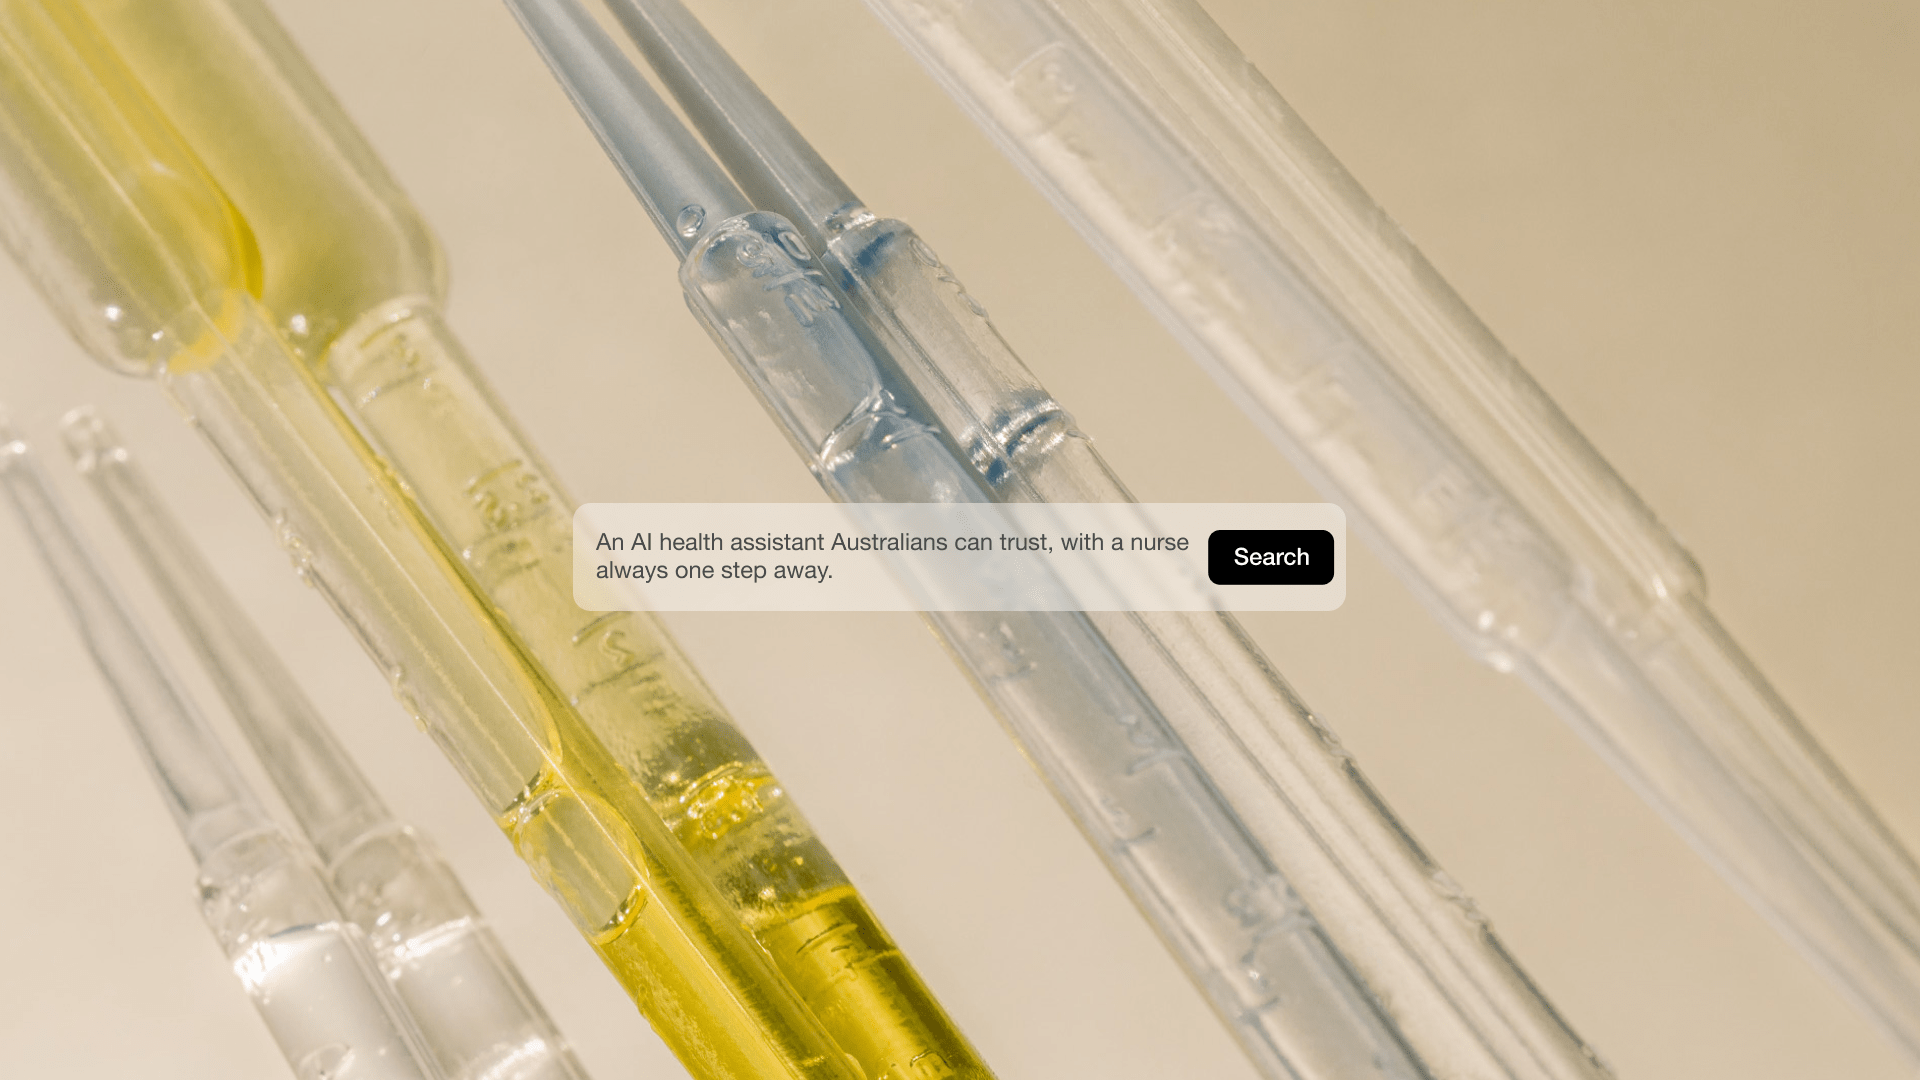
Healthdirect is bringing trusted, clinically grounded health guidance to ChatGPT, designed and built by DEPT®.

DEPT® returns with The Secret Garden and opens Souvenir Shop with capsule collection at Cannes Lions 2026

DEPT® launches accelerator powered by Adobe GenStudio for Performance Marketing to bridge AI’s execution gap
Questions?
SVP, Search & Growth Labs